The world of freelance contracts can be daunting for beginners. It’s intimidating to think about the implications, terms, and different things you need to include to ensure you cover yourself financially and legally. In this guide, I’ll make things easier for you.
I’ll provide everything you need to know about creating freelance contracts, answer some burning questions, and walk you through how to create your own contract.
Note: Everything in this article is for educational purposes only. I am NOT providing financial or legal advice. If you’re unsure about anything related to the implications of freelancing, consult a professional.
Can You Write Your Own Freelance Contract?
Creating your own freelance contract is not only possible, but it’s also an essential step in establishing clear expectations and protecting your interests as a freelancer. You can use templates to get started (which I’ll talk more about later), but I strongly recommend you get comfortable at least editing those templates yourself.
Before I dive into the details of how to create a freelance contract, I want to discuss why it’s crucial to take this initiative.
A Custom Contract Is Tailored To Your Needs
Every freelance project is unique, and one-size-fits-all contracts often fall short in addressing specific requirements. By writing your own contract, you can tailor it to suit your project’s particular demands.
It also covers your specific services and terms for any given client relationship.
It Prioritizes Clear Communication
Your freelance contract outlines the scope of work, deadlines, payment terms, and other critical details for you and your client to refer to. Writing it yourself ensures that all parties have a clear understanding of their responsibilities.
Note: I lost a potential client before we got started due to poor communication BEFORE signing the contract. So it’s absolutely crucial that you lay things out clearly at this stage. And boilerplate/template options simply often miss the mark here.
It Provides Legal Protection
While it’s essential to keep your contract simple and straightforward, it should still offer legal protection. Writing your contract allows you to include clauses that safeguard your rights and interests. Such as copyright ownership and dispute resolution mechanisms (i.e., what happens if things go wrong?).
However, I’ll say again that I am not a lawyer or financial advisor. I am only trying to help you understand the basics of freelance contracts. For more information, I recommend checking out your local government’s regulations surrounding self-employment contracts, or consulting a professional.
How To Write A Freelance Contract
Note that the steps below roughly outline a suggested layout for your contract. You can tweak the order and things you include to suit your specific case, but this covers most of the process for creating a freelance contract.
A bit later in the article, I’ll talk about creating a contract with Bonsai. This is a tool that lets you build custom contracts with ease (and use their template library if you prefer). Skip to the next section if you want a done-for-you approach!
Step 1: Start With A Clear Header
Begin your freelance contract with a clear header that includes the title “Freelance Contract” or “Freelance Agreement.”
Follow this with your name or business name, contact information, and the client’s information, including their name and contact details.

Step 2: Define The Parties Involved
In the initial section of your contract, formally identify both parties involved (i.e., you and the client).
Include:
- Your full name or business name
- Your contact information (address, phone number, email)
- Your business registration details (if applicable)
Include the same information for your client.
Step 3: State The Scope Of Work
Clearly outline the scope of work in your contract. This section should detail the specific tasks, deliverables, and objectives of the project. Use clear and concise language to avoid any ambiguity.
Mention any project milestones and deadlines clearly as well.
Step 4: Specify Payment Terms
Payment terms are a CRUCIAL aspect of any freelance contract. Clearly define the financial aspects, including:
- State the total project cost or the rate for your services
- Specify the currency if applicable (e.g., USD or EUR)
- Outline when and how payments will be made (such as hourly or per project)
- Include due dates for each payment
- Mention any penalties or late fees for overdue payments
Step 5: Set A Timeline
In this section, establish a timeline for the project, including clarity on important milestones and deadlines. A clear timeline helps manage expectations and ensures everyone is on the same page regarding the progress of the project.
Step 6: Address Intellectual Property Rights
Define who owns the intellectual property rights to the work produced during the project. In most cases, freelancers retain these rights until full payment is received. Then it likely transfers to your client, and they own the work they’ve paid for.
Note: If this is of particular importance to you, I strongly recommend seeking advice from a professional. Copyright law can be pretty complex.
Step 7: Include A Termination Clause
You use a termination clause to outline the conditions under which either party can terminate the contract. This could include circumstances such as non-payment or failure to meet project milestones.
Step 8: Detail Dispute Resolution
Specify how you will resolve disputes. Some options include negotiation, mediation, or legal action (which you probably want to avoid).
A clear dispute resolution process can prevent lengthy and costly legal battles. Hopefully you won’t have to deal with these as a freelancer!
Step 9: Add A Confidentiality Clause
If your project involves sensitive information, include a confidentiality clause to protect both parties from unauthorized disclosure of confidential data.
Step 10: Review & Sign
Before finalizing your contract, thoroughly review all terms and ensure they accurately reflect the agreement between you and your client. Once both parties are satisfied, sign and date the contract.
There are various ways to do this, including the likes of DocuSign. But if you use Bonsai, you can use their e-signing feature instead.
Next, I’ll discuss how to create a full contract using Bonsai.
How To Create A Freelance Contract With Bonsai
Bonsai is a powerful platform designed to simplify the process of creating and managing freelance contracts. In this section, I’ll guide you through the steps to create a freelance contract using Bonsai, making the process efficient and hassle-free.
Step 1: Sign Up & Log In To Bonsai
To get started, visit the Bonsai website and sign up for an account if you haven’t already. Once you’ve registered, log in to your Bonsai account.
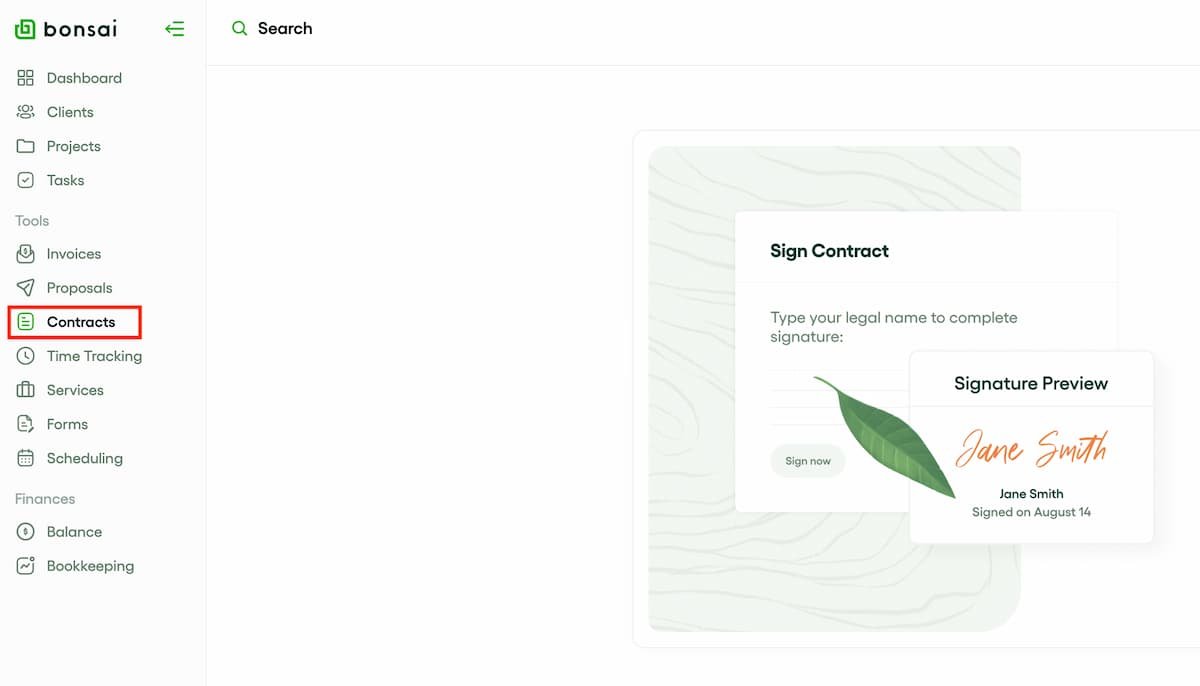
Step 2: Navigate To The Contracts Section
After logging in, navigate to the “Contracts” section in your Bonsai dashboard.
Step 3: Select A Contract Template
Bonsai offers a range of contract templates tailored to various freelance services, from web design to copywriting. Choose the template that best matches your project’s requirements.

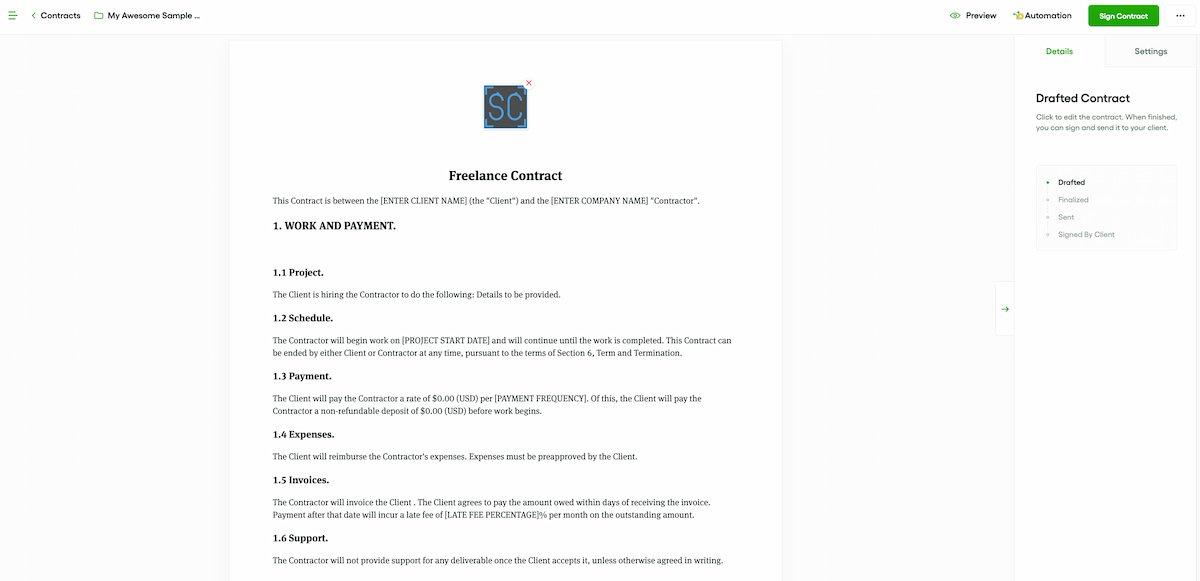
Step 4: Customize The Contract
Once you’ve selected a template (I recommend searching for the “Freelancer” template), Bonsai will guide you through customizing the contract to suit your specific needs. You can add or remove sections, modify clauses, and include any project-specific details.
Step 5: Review & Edit
After customizing the contract, carefully review all sections to ensure they accurately reflect the terms and conditions you and your client have agreed upon. Bonsai provides an easy-to-use editor that allows you to make any necessary edits.
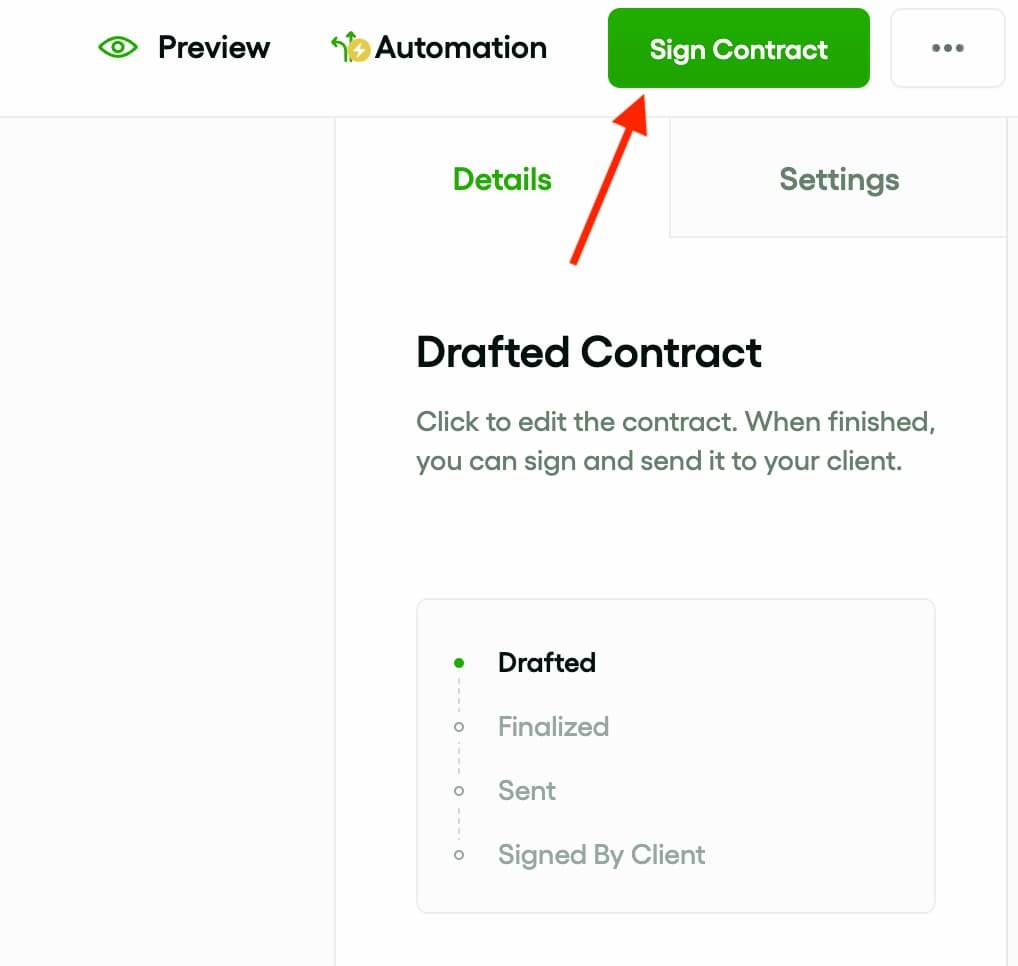
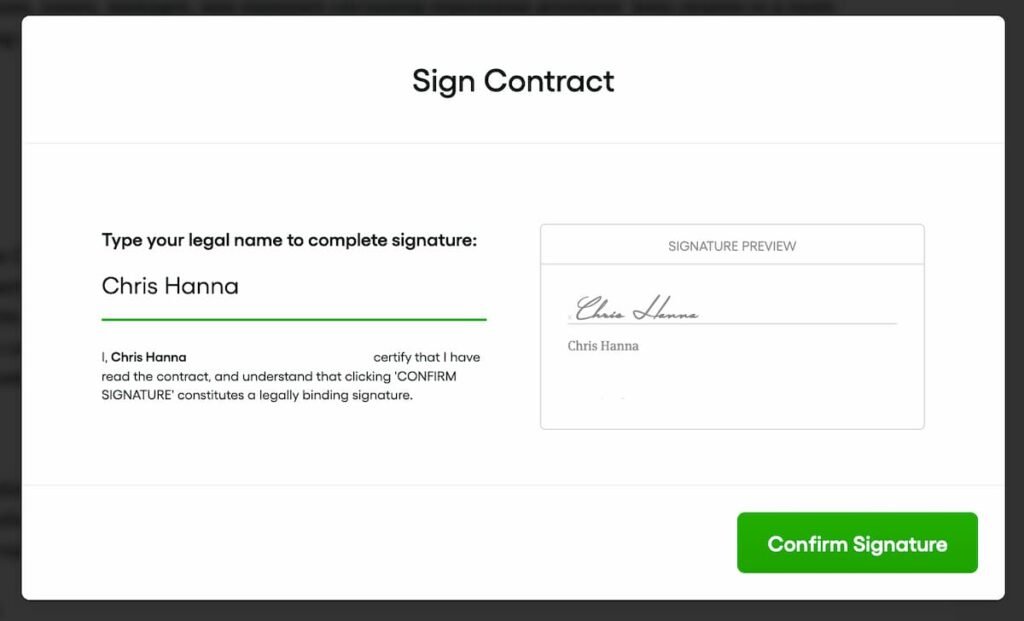
Step 6: Sign The Contract
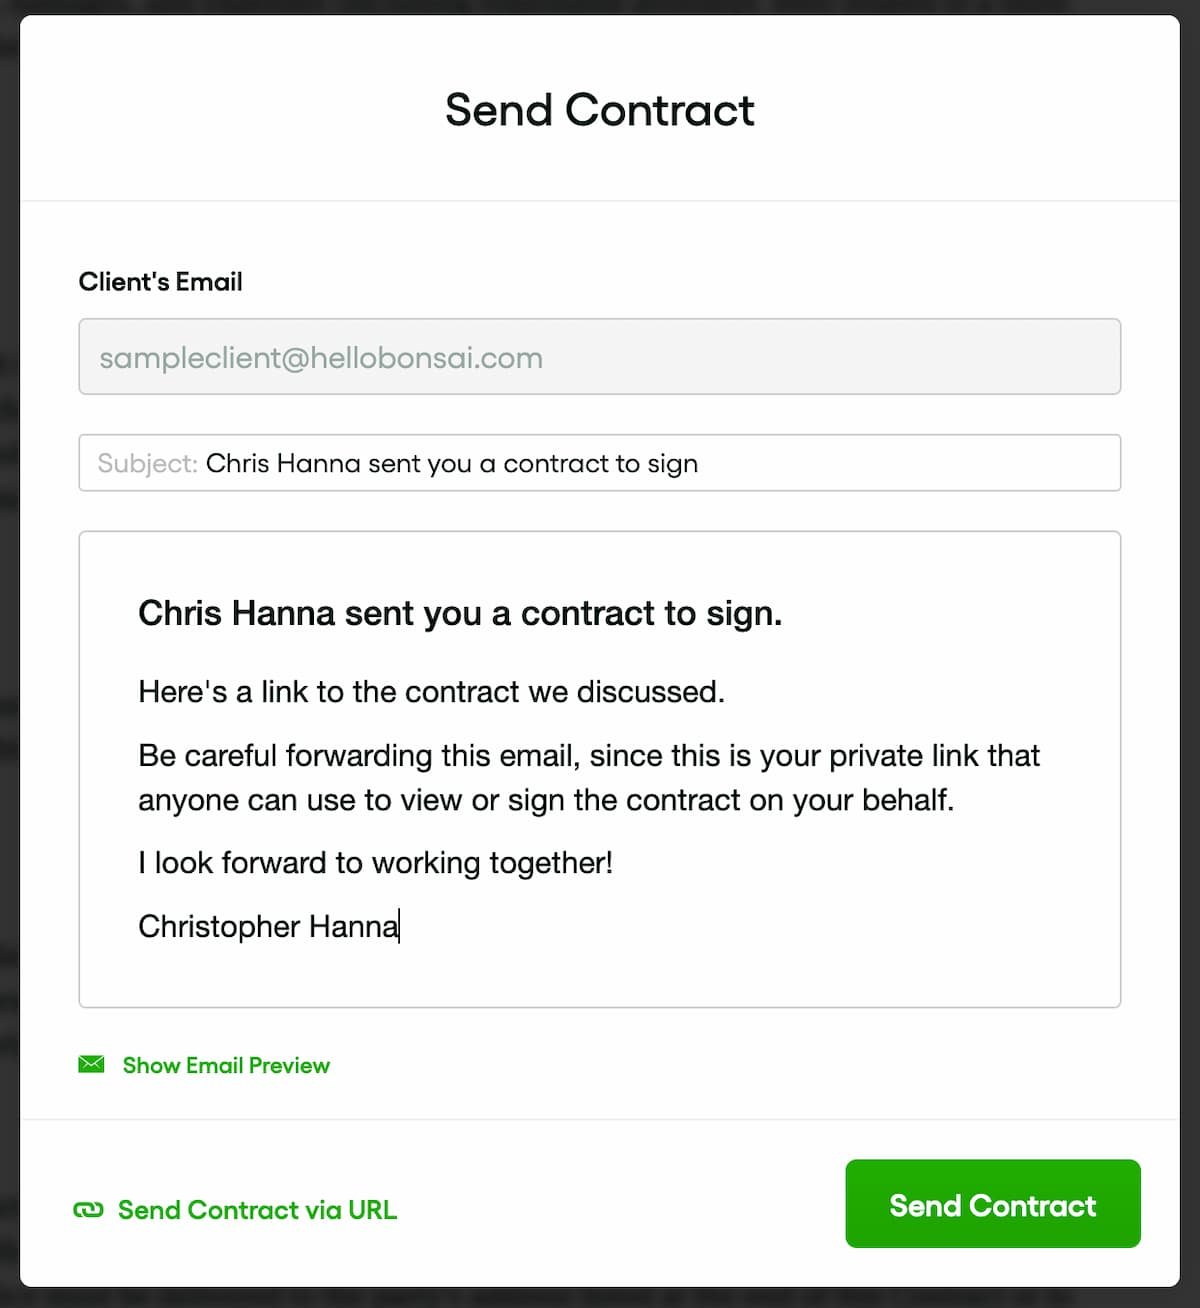
Once you’ve reviewed and edited the contract, it’s time to sign it. Bonsai offers electronic signature capabilities, making it convenient for both you and your client to sign the contract online (they’ll receive an email with a link to sign it—they don’t even need an account).
Step 7: Share The Contract
Share the contract with your client through Bonsai’s secure platform. Your client will receive a notification to review and sign the contract. I recommend downloading the contract as a PDF for your records.
18 Things A Freelance Contract Should Include
1. Contract Title
Start with a clear and descriptive title, such as “Freelance Contract” or “Independent Contractor Agreement.” Nothing fancy required here.
2. Parties Involved
Identify the contracting parties:
- Your full name or business name and contact information
- Your client’s full name or business name and contact information
3. Scope Of Work
Clearly define the project’s scope. Include details like:
- Project objectives and goals
- Specific tasks or deliverables
- Project milestones and deadlines
4. Payment Terms
Outline the financial aspects of the contract:
- Total project cost or hourly rate
- Payment schedule, including due dates
- Late payment penalties, if applicable
5. Timeline
Set realistic project timelines, including start and end dates, as well as any important milestones.
6. Intellectual Property Rights
Specify who owns the intellectual property rights to the work. As I mentioned earlier, freelancers typically retain these rights until full payment is received. But you should still specify this.
7. Termination Clause
Detail the conditions under which the contract can be terminated. Include provisions for termination by both parties and include specified notice periods.
8. Dispute Resolution
Specify how disputes will be resolved.
9. Confidentiality
Include a confidentiality clause if your project involves handling sensitive information.
10. Independent Contractor Status
Clarify that you are an independent contractor, not an employee. Highlight the absence of employment benefits and taxes.
Further reading: When Does A Freelancer Become An Employee?
11. Liability & Indemnification
Define liability limits and indemnification clauses. Specify how liability will be handled in case of errors or damages.
12. Governing Law
State the jurisdiction and laws that govern the contract. This helps determine which laws apply in case of disputes.
13. Signatures
Include spaces for both parties’ signatures and dates. As I mentioned above, tools like Bonsai include these automatically, allowing for simple e-signing.
14. Additional Provisions
Depending on your project and industry, you may need to include additional provisions, like:
- Non-compete clauses
- Ownership of equipment or materials
- Insurance requirements
- Force majeure (unforeseeable events) clauses
15. Amendments
Outline the process for making changes to the contract. Ensure that any amendments are documented in writing and signed by both parties.
16. Entire Agreement
Include a clause stating that the contract represents the entire agreement between the parties. This prevents additional verbal agreements from affecting the contract’s terms.
17. Severability
Include a severability clause. This ensures that if one part of the contract is found to be unenforceable, it doesn’t invalidate the entire thing.
18. Notice
Specify how and where formal notices should be sent. This ensures proper communication between parties, and is particularly important if there are multiple people involved on either side.
Remember that while this list covers the essential elements of a freelance contract, each contract should be tailored to the specific project and the needs of both parties. Seek legal advice if you have complex contract requirements or if you are unsure about any terms.
Do You Really Need A Freelance Contract?
You do need a freelance contract, as it provides clarity of expectations for you and your clients, offers legal protection, and it’s also just a professional thing to do. Even if you don’t feel you need a contract, your client probably will.
A freelance contract clearly outlines the scope of work, project details, deadlines, and expectations for both you and your client. This prevents misunderstandings and ensures that both parties are on the same page.
It also defines the rights and responsibilities of each party, helping to resolve disputes and potential legal issues. It specifies the payment terms, including the project cost, payment schedule, and late payment penalties. This ensures you are paid fairly and on time.
Your Clients Might Require One
Clients are also more likely to trust and hire freelancers who have formal agreements in place. The contract protects them too, not just you. Some clients might not work with you if you don’t use proper contracts (or they might create one for you to sign instead—this is how a few of my own clients operate).
Freelance contracts also serve as an essential record of your agreements with clients. You can refer back to them if there are any disputes or if you need to verify project details.
Each of these reasons should illustrate why freelance contracts are so important. But with the steps and checklist above, it should be a little easier for you to create yours. And if you want to automate it, I recommend using a platform like Bonsai!
Freelance Ready is reader-supported. That means some links on this website are affiliate links. If you sign up or make a purchase through these links, we may earn a commission.

Chris is the creator of Freelance Ready. He originally started freelancing (on Fiverr) while at university, writing and editing website content. He created this website to share his freelancing experience and help others on their own self-employed journeys. He is now a freelance SEO consultant and content editor. You can learn more about Chris here.